-
Access cPanel:
- Log in to your cPanel account. You can usually do this by visiting your domain followed by "/cpanel" (e.g., "yourdomain.com/cpanel") or through the hosting provider's website.
-
Navigate to File Manager:
- Look for the "File Manager" icon or link in your cPanel dashboard. Click on it to open the File Manager.
-
Choose the Domain:
- If you have multiple domains, make sure to select the domain to which you want to upload the files.
-
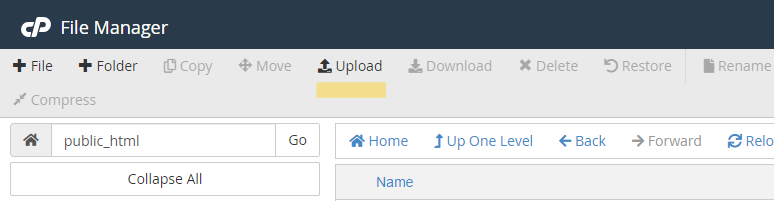
Navigate to the Public_html Directory:
- Inside File Manager, find and open the "public_html" directory. This is the root directory for your main domain.

- Inside File Manager, find and open the "public_html" directory. This is the root directory for your main domain.
-
Upload Files:
- Once you're in the "public_html" directory, you can either use the "Upload" button in the toolbar or right-click in the File Manager and select "Upload."
- Once you're in the "public_html" directory, you can either use the "Upload" button in the toolbar or right-click in the File Manager and select "Upload."
-
Select Files:
- Choose the files you want to upload from your local computer. You can select multiple files by holding down the Ctrl key (or Command key on Mac) while clicking.
-
Upload:
- After selecting the files, click the "Open" or "Upload" button to start the file upload process.
-
Wait for Completion:
- The upload may take some time, depending on the size of your files and your internet connection speed. Once completed, you should see the uploaded files in the "public_html" directory.
-
Verify:
- Visit your website in a web browser to make sure that the uploaded files are displaying correctly.
